
By Jesse Stacken
There is a saying in the permaculture world: “Create the conditions for x to happen.” Create those conditions and x will thrive.
So in creating the conditions for backyard vegetables to happen, part of it is simply getting the plants. In this blog post, I’m going to discuss a few ways for you to get good-quality plants to grow in your garden.
Buy Starts
Plants want to grow; but if you’re a beginner gardener there is a lot to learn. So the easiest way to get vegetable plants is to buy starts from a trusted source. We’ll have a small selection of vegetable starts alongside our wide selection of perennial flowers, shrubs, and trees at the One Nature Plant Nursery on Main Street. Another good source is the Common Ground Farm plant sale. Smaller independent nurseries are your next best bet. Try to find a place where they’re sowing seeds themselves, not just buying plants and reselling them. Ask them if their plants have been hardened off. Hardening off means that the plants have been brought outside for gradually more time each day so that they get used to the real weather. If a plant goes from indoor grow light or greenhouse environment straight to outside in the real elements, it will usually suffer and probably die.
Avoid buying vegetable starts from the big box stores. Those plants are typically fed a lot of chemical fertilizers to pump them up to survive a truck ride and to look good on the shelf for a couple weeks. When you transplant them and stop feeding them the “hard drugs”, they will usually not do so well.

One Nature will have small selection of vegetable starts at our garden center on Main Street in Beacon this spring.
Start your own seeds indoors
Buying starts can have you covered for many of your favorite veggie plants. However, there are those that do not transplant well and need to be direct seeded. Those include root crops like carrots, radishes, parsnips, and potatoes, some leafy crops such as spinach, and legumes like beans and peas. Once again, buy your seeds from a reputable source. Our favorite seed companies are Fedco, Hudson Valley Seed, and Johnny’s. There are many excellent smaller seed companies as well. Once you order from them you’ll get on their mailing list and start getting their enticing seed catalogs in the mail. The Fedco catalog is the best read of the winter!
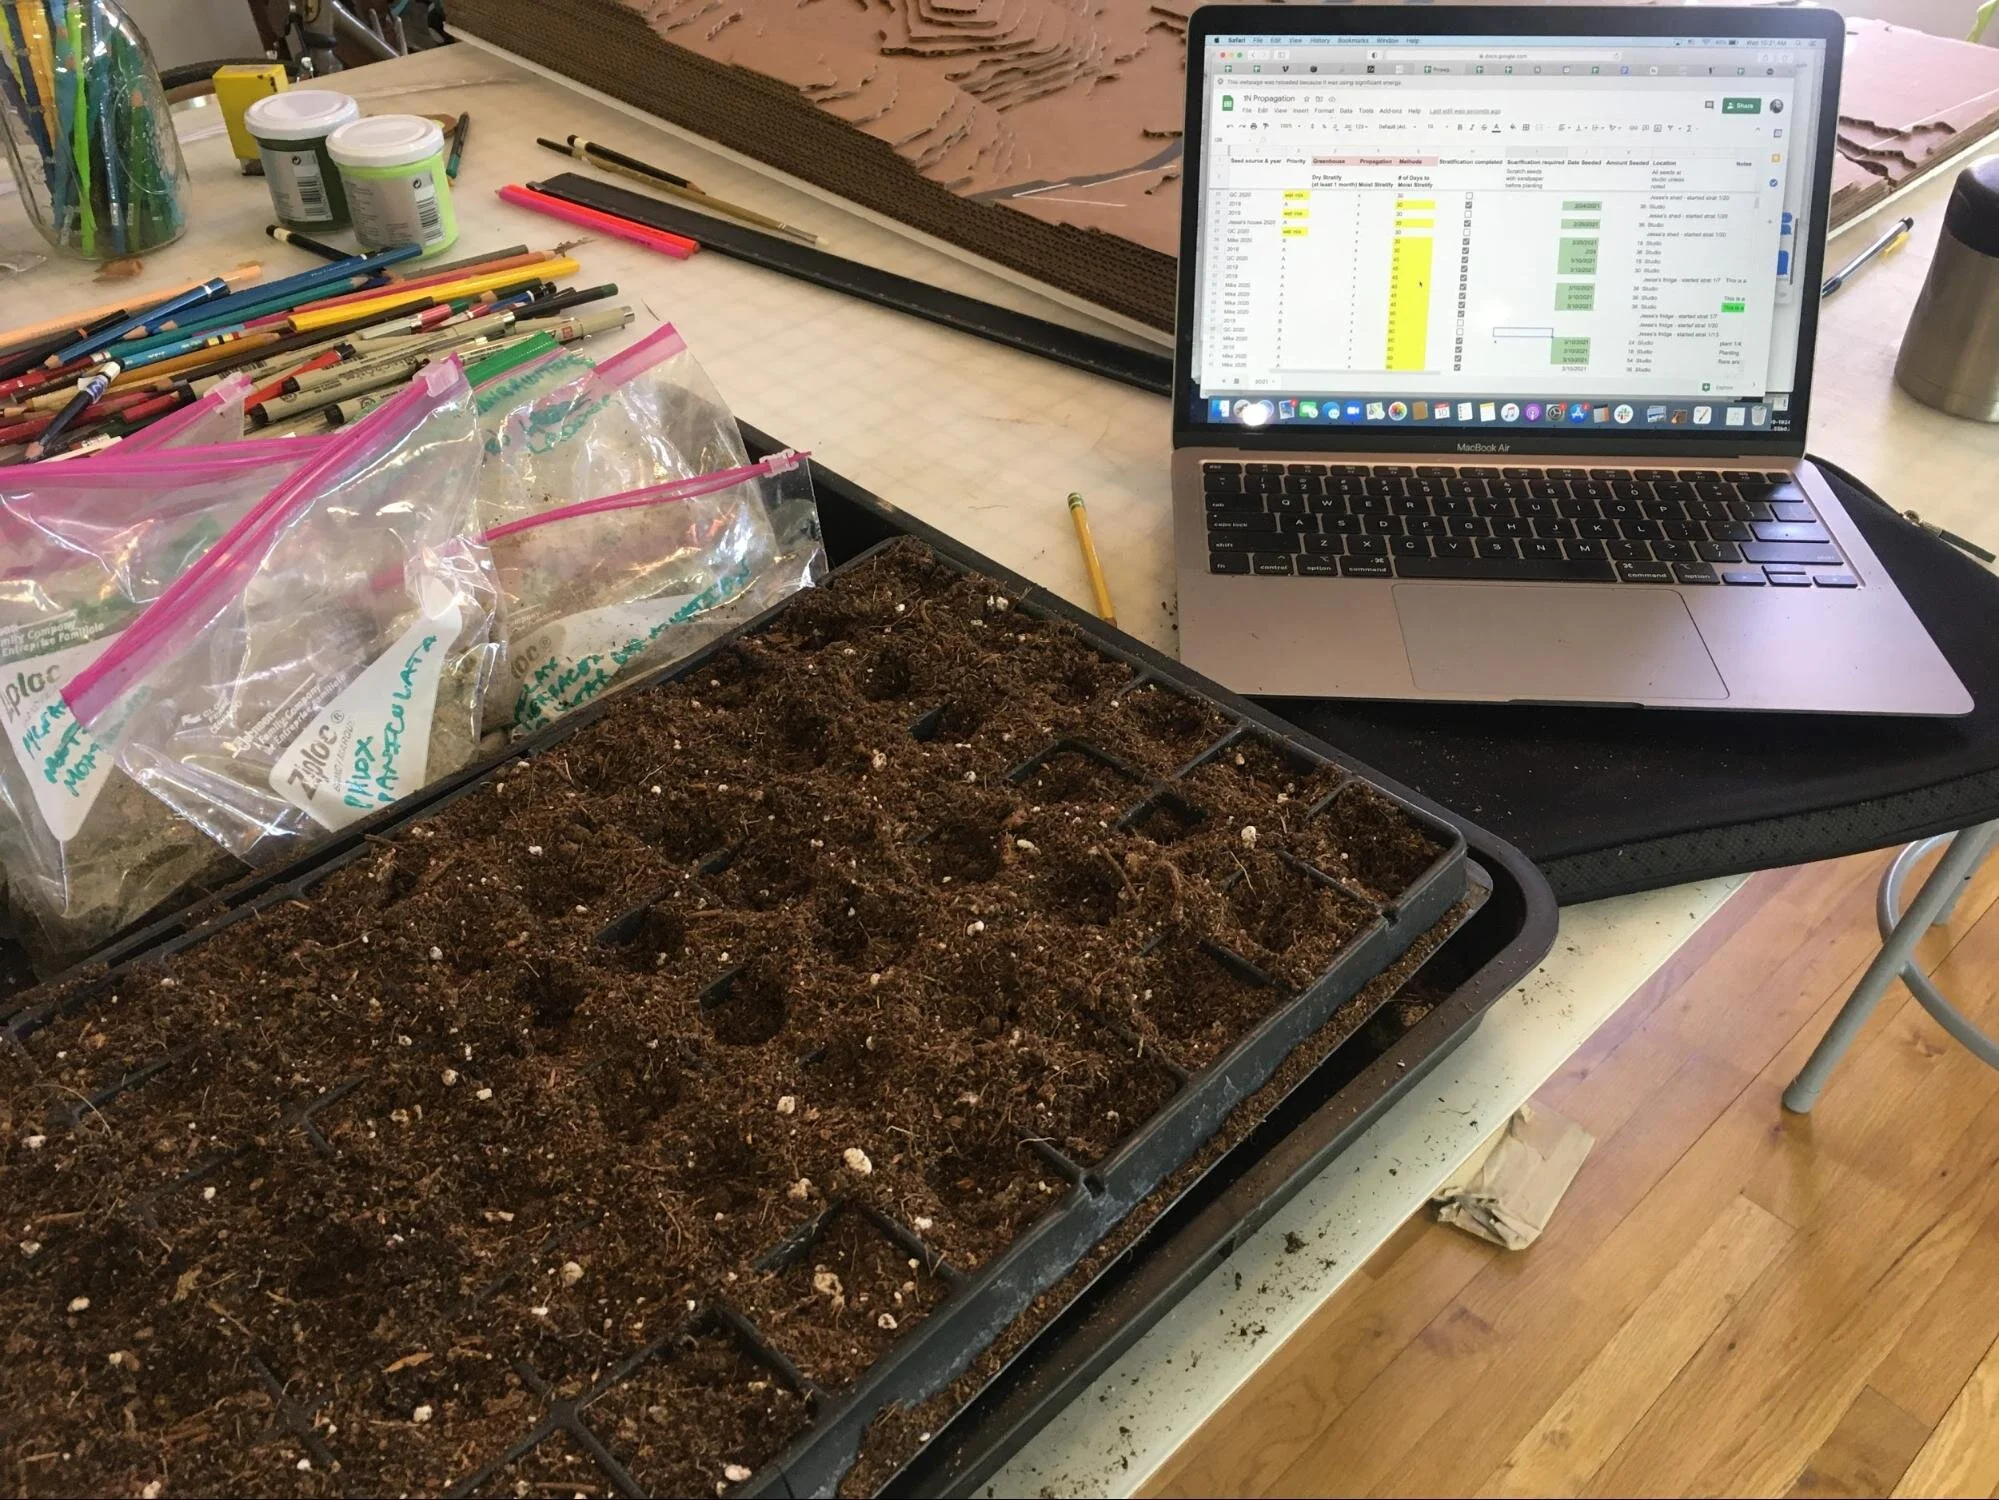
One Nature starts are planned and planted in our studio.
After a year or two, when you’re getting confident in your vegetable growing skills, you may want to take the next step and start your seeds indoors. This can save you some money, since seeds are a fraction of the cost of plant starts. Sowing indoors requires some equipment. You’ll need some grow lights, shelving, potting soil, trays, and of course the seeds. Some people start plants in sunny window. This can be done, but oftentimes your plants will end up very “leggy”, meaning they’re tall or long, but weak and flimsy. This happens because they’re starved of light and looking for the sun. Grow lights are a better way to go. We have a small grow light set up at the One Nature design studio where we start veggies and native perennials. There’s nothing more exciting than seeing plants sprouting and growing in the late winter months.
If you go with this method, hardening off is very important and can’t be over-emphasized. We don’t expect our babies to survive on their own when they’ve just come out of the womb, and we shouldn’t expect our plants to do the same. They need a little survival training before they’re ready to take on the world. Start by bringing your seedlings outside to a shady, sheltered spot for an hour or two a day. Gradually increase the sun and wind exposure until they’re outside in full sun for half the day. Then they’re ready for transplanting!

One Nature plant starts bask under the interior grow lights.
The Milk Jug Method
As home gardeners, it’s nice to take advantage of our small scale. There are many things that we can do in the home garden that would be uneconomical for commercial growers. The Milk Jug Method is such a thing. Sometimes I’ve seen this method called Winter Sowing or Spring Sowing. My mom introduced it to me; I’ve been doing it for several years and I’m very happy with it. Basically, you save up some plastic gallon-sized jugs (or raid your neighbors’ recycle bins for them) and you sow your seeds in them. Then you set them outside. Each jug acts like a little miniature greenhouse, and it protects your seeds from squirrels, birds, and weed seeds blowing in. The seeds wait until the soil is the right temperature before they germinate.
Here’s what you need:
Plastic jugs
A drill with a ¼ to ½ inch bit
A pocket knife or utility knife
Potting mix
Seeds
Water
Duct tape
A label maker (optional) or a permanent marker.
Instructions:
Drill 2 holes on the bottom and 2 holes near the top of the jug.
Carefully slice around the mid-line of the jug, but keep it attached near the handle of the jug, so it can open like a clam shell but is still in one piece.
Fill the bottom half with potting mix.
Sow your seeds. I’ll usually put up to 9 seeds in each jug, 16 onions or leeks.
Water them well.
Tape the jug around the slice you made so as to put it back in its original form, sealed tight (aside from the drainage holes and ventilation holes we drilled).
Put the cap on the jug.
Label the jug on the bottom half, with the seed variety and date. I use a Brother label maker. As long as you get the label to stick on (a little tricky if you got the jug wet when you watered), the labels don’t fade and are clearly legible all season. You can write on the jug with a permanent marker, but it will fade so keep an eye on it and relabel if needed.
Put the jugs in a sunny spot and wait, check on them for germination periodically.
On those unusually warm Spring days, you may want to pop the caps off so your plants don’t cook.
Harden off. Hardening off is much less of a chore with this method. All I do is remove the duct tape and open the jugs during the day, then close them back up at night. There’s no need to re-tape them because the jugs can hold their shape. After a couple days, I just leave them open 24/7, depending on which plant is inside. I’ll open up my cold tolerant plants such as brassicas earlier. But I’ll keep my heat-loving tomatoes and peppers closed up longer.
Once opened, you’ll need to keep them well-watered until you transplant.
To transplant, I carefully scoop out each seedling with my hori-hori knife and transplant.
My plants are often smaller than nursery-bought plants at the time of transplant. But they are quick to catch up. Some plant-types can be jug-sown early and the seeds simply wait until they’re ready to sprout. But some, such as peppers, I’ve noticed don’t do well if sown too early - the seeds tend to rot. I usually wait until early April to seed peppers, and then they’re just fine.
The advantages of the Milk Jug Method are that you don’t have to water them at all when they’re closed up, hardening off is minimal and easy, it’s cheap and low-tech, we don’t need to power any lights to grow our plants, we don’t have to stress so much over the timing - the seeds sprout when they’re ready to, and we are adding at least one re-use to plastic jugs that would otherwise be thrown away after a single use.
Another advantage is that seeds that need stratification, such as many native perennial flowers, can be jug-sown in the Fall and stratification naturally takes place right in the jug over the winter. For this it’s best to place them in a shady spot until late winter, so that the jugs don’t heat up too much on those mild sunny days.

Jug-sown seeds are a great option for the home gardener that is low-cost, low-tech and easier than starting indoors.
Whichever method you choose, the important thing is to just do it and get growing. Take an active part in feeding yourself, your family, your neighbors, the insects, the soil biology, and your soul!